Book Scanners: Overhead, Flatbed or Camera for Bound Books and Volumes
 Anjali Deshpande10 min read
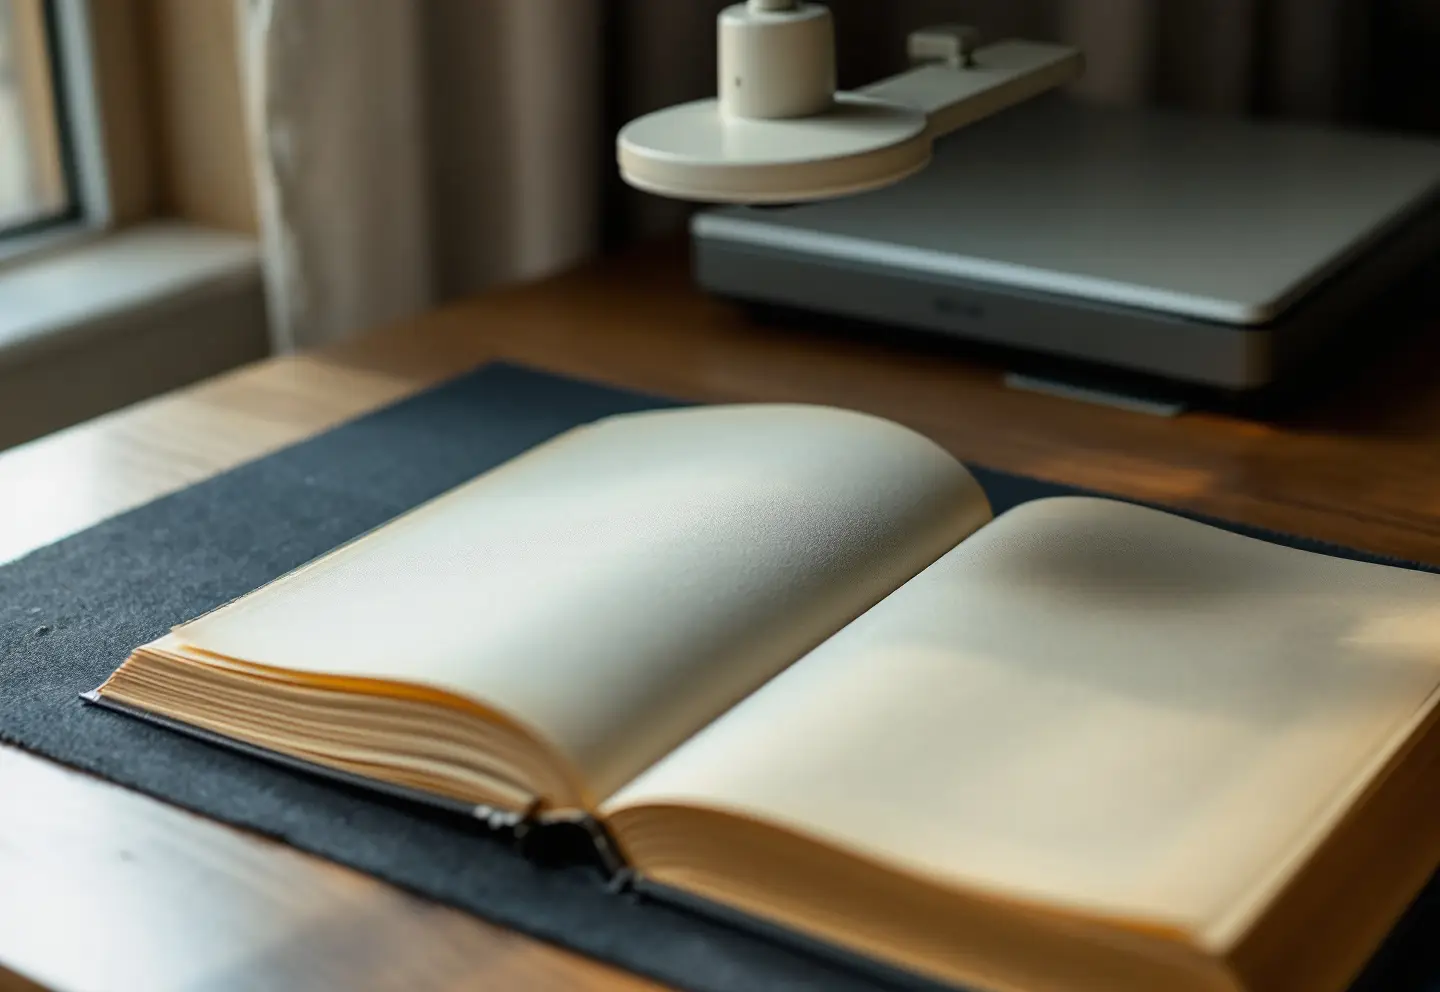
For bound books and record volumes, the book scanner to buy is an overhead scanner: a camera on an arm that photographs the open book face up and flattens the curve of the pages in software, so the spine is never pressed against glass. A folding model suits a shared desk; a desk-standing model with a 24-megapixel camera suits regular work through a run of volumes. Keep a slim flatbed for loose sheets, disbound leaves and thin pamphlets that lie flat on their own. For fragile bindings, oversize volumes or projects that must meet federal imaging guidelines, use a camera on a cradle or send the work to a vendor.
Archivist’s picks
- For: a shared archive
UGREEN NASync network storage
A network drive for home or office that keeps a full set of masters on your own shelf, reachable from every computer.
Open UGREEN
Why a flatbed is hard on a bound book
A flatbed wants the page flat against the glass. A bound book can only get there if you open it toward 180 degrees, turn it face down and press on the spine. Do that and the spine cracks, the sewing loosens, the joints between boards and text block start to split, and leaves near the middle come loose. Adhesive bindings break apart at the glue; leather and tight-back bindings crack along the spine. Every page you scan repeats the stress, and a register has hundreds of pages.
The images suffer too. Even pressed hard, the page curves away from the glass near the gutter, so text there comes out dark, stretched and soft. You end up with a damaged volume and a gutter you cannot read.
Every binding has an angle it opens to without strain, often 90 to 120 degrees for tight or old volumes. That angle, not the scanner on the desk, should decide how a book is captured. Our guide to scanning bound volumes without breaking them covers how to test it and what to record.
How an overhead book scanner works
An overhead book scanner holds a camera on an arm above a flat mat. You set the book face up on the mat, open it as far as it goes comfortably, and the camera photographs both facing pages at once. The software then finds the page edges, measures how the page curves, flattens the curve in the image, splits the spread into two pages, straightens them and crops them. Some models project laser lines across the page and use the way those lines bend to work out the page shape. You turn the page and capture again.
The book stays face up, nothing presses on the spine, and a page turn and capture take seconds. Where overhead scanners fall short:
- The opening angle. The camera has to see both pages, so the book must open fairly wide. A tight volume that only opens to about 100 degrees should be captured one page at a time, with the book tilted on supports so the page being captured faces the camera.
- Flattening is an estimate. Lines of text near the gutter can stay slightly curved or squeezed. The software cannot show words hidden inside the binding, and no setting will.
- Holding pages down. A leaf that springs up needs a hand or a weight. Hold it at the outer margin with a fingertip, a strip of clear polyester or a reading-room weighted cord, never across the text, and check frames for stray fingers.
Wherever the software allows it, keep the unflattened capture as well as the corrected page. Flattening is a decision you may want to make again with better software later.
When a flatbed is fine
A flatbed is still the right tool for a good deal of what sits in and around bound volumes:
- loose sheets, letters, clippings and receipts found tucked into a volume
- disbound leaves, where a conservator has already taken the volume apart for rebinding
- thin pamphlets with a few staples that lie flat on the glass under their own weight
- single photographs or small prints laid into an album or register
The test: if you have to hold it down to get a good scan, it does not belong on a flatbed. Let the lid rest under its own weight and never lean on it. Brittle paper that cracks when it is flattened, and anything larger than the glass, should go under a camera instead. For a stack of modern loose paper, a sheet-fed document scanner is faster; our guide to choosing a document scanner for home and office records covers those, with the warning that nothing old or fragile goes through rollers.
The picks, by job
These three machines cover most small-office and family work. The desk-standing overhead scanner, with a 24-megapixel camera, page-curve flattening and deskew, keeps the volume open face up with no pressure on the spine, and suits regular work through a run of record books. The folding overhead scanner doubles as a desk lamp, captures A3 and A4 pages face up, uses laser lines to guide the flattening and folds flat between sessions. The slim flatbed runs on its USB cable, fits on a crowded desk and handles loose sheets, inserts and prints one at a time.
A folded towel under each board, or two padded wedges, keeps the boards from hanging.
Camera setups
A camera on a copy stand is the third route, and for some projects the best one. The usual setup:
- a mirrorless or DSLR camera on a copy stand or a sturdy tripod with a horizontal arm, the sensor exactly parallel to the page (a small bubble level on the page and another on the camera back makes this easy)
- a normal or macro prime lens, with manual focus, manual exposure and a fixed white balance so every frame matches
- tethered capture or a remote release, so you never touch the camera
- a cradle: two padded supports for a wide opening, or a V-shaped cradle that holds a tight binding partly open while the camera, or a pair of angled cameras, faces each page square on
A camera setup takes more skill, but the camera, lens and cradle can be matched to the book rather than the book to the machine. A phone fixed on a stand with locked focus and exposure is the low-cost cousin. It is fine for reference copies on a research trip and a poor choice for preservation masters.
Light and glare
Even light matters more than bright light. Two matching lamps, one each side at roughly 45 degrees to the page and at the same distance, give flat, even illumination. Turn off the ceiling lights and keep out of direct daylight, which changes through the day. LED lamps keep heat off the book.
Check evenness by capturing a plain gray or white card that fills the frame. If the corners come out darker than the center, move the lights now rather than correcting every file later. Overhead book scanners bring their own lamps; on glossy pages and photographs, expect bright patches and try side lamps or a dimmer room. On a camera rig, polarizing filters on the lights and lens cut reflections from glossy paper and glass. If you use glass to hold a page flat, lift it completely before every turn.
Resolution for text and for images
For printed and handwritten text, 300 pixels per inch at the size of the original is a usable floor, and 400 is better for small type, faint pencil, ledgers with fine ruling and anything you hope to run through text recognition. For plates, maps, engravings and photographs printed in a book, scan at 400 to 600. Printed halftone images can show a moiré pattern when scanned; fix it in the access copy and leave the master alone.
On an overhead scanner, resolution on the page is set by the camera's pixel count spread across the capture field. A 24-megapixel camera has roughly 4,000 pixels on its short side. Spread across a field the size of an A3 sheet (about 16.5 by 11.7 inches), that comes to roughly 350 pixels per inch. That is enough for most text and thin for fine engravings. Unless the camera can be lowered or zoomed, a small pamphlet gets the same pixels per inch as a large ledger; it simply fills less of the frame. Some makers quote a "dpi" figure that is interpolated, so do the arithmetic yourself. The scan resolution calculator turns page size and resolution into pixels, file sizes and the drive space a whole run of volumes needs.
File formats
- Masters: TIFF, uncompressed or with lossless compression, 8 bits per channel in color or grayscale, with an embedded color profile. Keep these and never edit them.
- Reading copies: one PDF per volume, with an OCR text layer for printed pages. Expect OCR to stumble on handwriting; read our piece on handwritten text recognition for archives before promising anyone a searchable register.
- Sharing: JPEG derivatives made from the masters.
Check what the scanner software saves by default. If it is only a compressed PDF, change it before the first session; lost detail does not come back.
A page-turning workflow
- Survey the volume. Note the opening angle, brittle corners, tears, loose leaves, foldouts and any sign of mold or water. Anything with active damage goes to a conservator before it goes under a camera.
- Set it up. Center the spine on the scanner's center line, put a towel or wedge under each board, and adjust the supports every few dozen pages as the book's weight shifts from one side to the other.
- Capture the whole object. Start with a sheet giving the volume's identifier and a small gray or color card, then the covers, spine and endpapers, then every page in order, blanks included.
- Turn pages gently. With clean, dry hands, lift each leaf from the upper corner, support it through the turn and lay it down. Leave loose items exactly where you found them and capture them in place.
- Keep both hands on the book. If the scanner has a foot pedal or a hand button, use it.
- Check as you go. Every twenty frames or so, look at focus near the gutter, cropped text and stray fingers.
- Name files by volume and sequence, zero-padded, as in
minutes-v03-0001.tif. Record printed page numbers in metadata, not filenames; old volumes skip and repeat numbers. - Close the session properly. Count images against pages, copy the masters to a second drive, and make checksums before you go home.
Expect this to be slow, a small fraction of a sheet feeder's pace, and slower still for fragile volumes.
When to send it to a vendor
In house makes sense for a few dozen sturdy volumes and a staff member with time. Send the work out when:
- there are hundreds of volumes, or a deadline
- the bindings are tight, fragile or valuable enough to need a V-cradle and an experienced operator
- the volumes are larger than your scanner's field: plat books, bound newspapers, oversized maps
- a grant or a state program requires work to federal imaging guidelines, with targets and quality reports
- you also need preservation microfilm; our guide to imaging and microfilm for preservation copies explains how the two fit together
Ask the vendor what equipment they use for tight bindings, have them do a sample volume first, and write your opening-angle and no-glass instructions into the contract; every contract I have written for county volumes carried both. Specify the deliverables: TIFF masters, access PDFs, your filename pattern, checksums and condition notes before and after.
Workbench shortlist
- 1Open UGREEN
UGREEN NASync network storage
For: a shared archive
Run the numbers first: Scan resolution calculator.
Frequently asked questions
What is the difference between a book scanner and a flatbed scanner?
A book scanner photographs the open book face up from above and flattens the page curve in software. A flatbed needs the page pressed face down on glass, which strains or breaks the spine of a bound book.
Can I scan a book without damaging the spine?
Yes. Use an overhead scanner or a camera, open the book only as far as it goes comfortably, support both boards with a folded towel or padded wedges, and never press the spine flat.
What resolution should I scan a book at?
300 pixels per inch at original size for clear text, 400 for small type, faint pencil or handwriting, and 400 to 600 for plates, maps and photographs.
Is a phone good enough to scan a book?
For reference copies, yes, with the phone fixed on a stand, even light and locked focus. Not for preservation masters.
Do overhead book scanners work on old handwritten volumes?
For capture, yes, if the volume opens wide enough for the camera to see the page. Text recognition on handwriting is unreliable.
Keep reading
How to Digitize VHS Tapes at Home: Tape Checks, VCRs, Converters and Files
How to digitize VHS tapes at home: check tapes for mold and damage, pick a VCR and a VHS to digital converter, set capture options, save MP4 and master files.
Choosing a Document Scanner for Home and Office Records
How to choose a document scanner for home and office records: duplex feeders, portable and receipt scanners, OCR, PDF/A and the specs that change daily use.
What Is Microfiche? How to Read, Print and Scan It
What is microfiche, how does it differ from microfilm, and where can you still find a microfiche reader? A plain guide to reading, printing and scanning fiche.