Removing Old Pressure-Sensitive Tape from Records
 Elias Brandt10 min read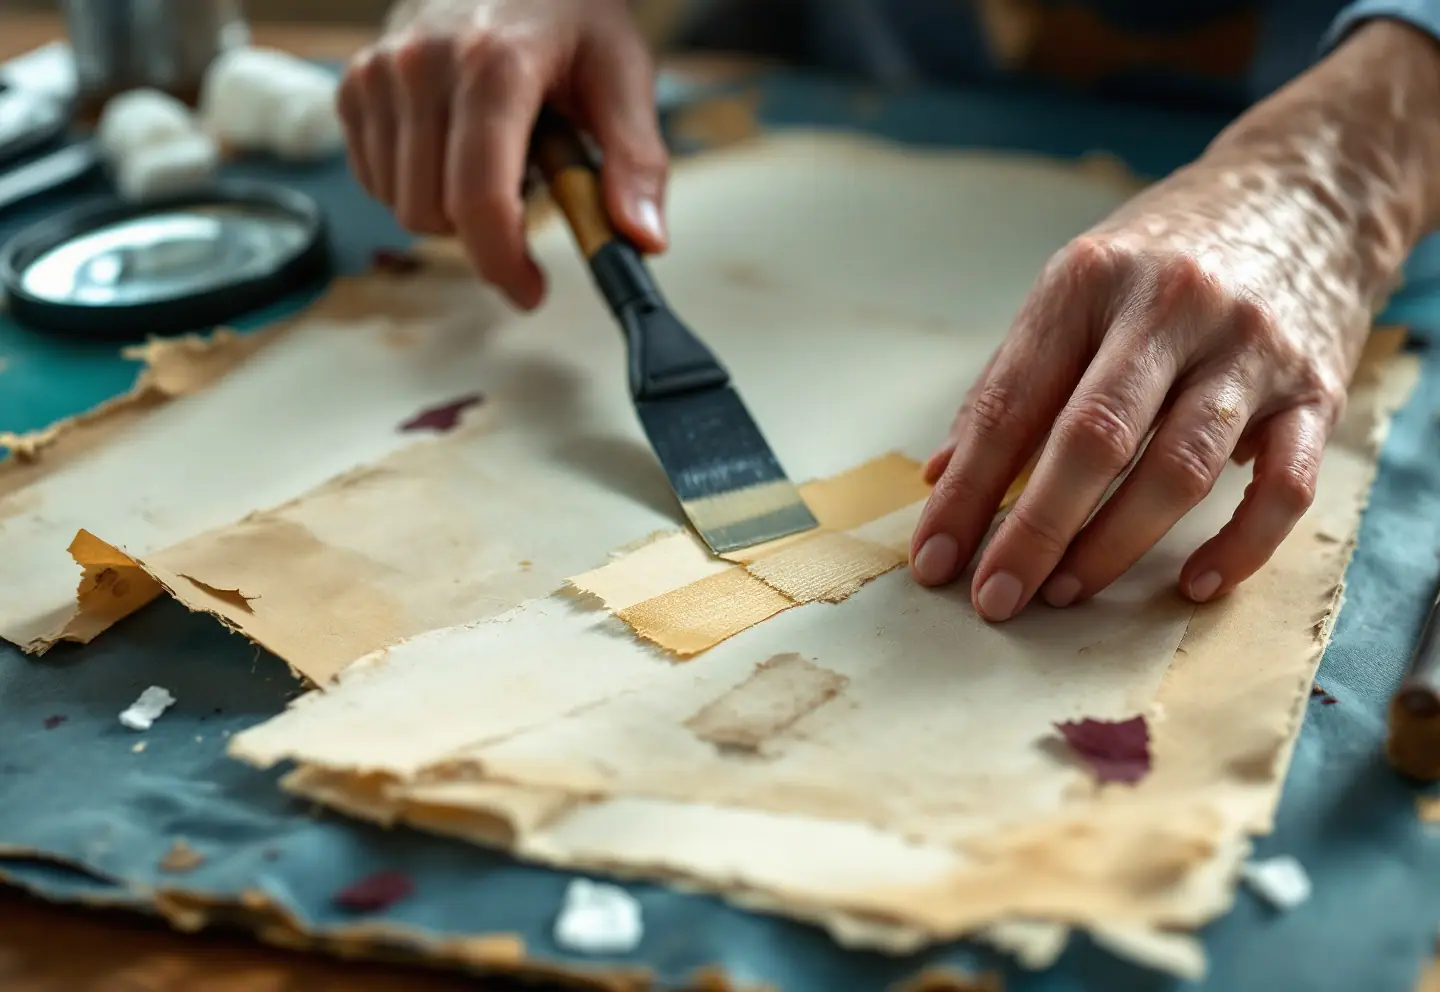
Most records rooms I visit have at least one shelf of well-meant mistakes. A plat torn along an old fold and held together with a strip of tape. A deed book leaf that cracked at the gutter and was hinged back in with two more. A page of a birth register with a corner reattached by someone who clearly cared, used what was in the desk drawer, and went home satisfied. For a year or two those repairs look fine. Then the tape turns yellow, then orange, then brown, and one day the strip falls off on its own and leaves a stain the exact shape of itself.
A good share of my bench time goes to undoing this. None of it is exotic, but it is slow, and it rewards patience more than cleverness. Here is how tape ages, why it stains, how a conservator takes it off, and what an office can do in the meantime.
Two materials, one problem
Pressure-sensitive tape is a thin carrier film coated with an adhesive that never fully sets. That's the point of it: press, and it sticks. It is also the whole problem. An adhesive designed to stay soft keeps moving, and it keeps reacting with the air around it.
Older cellophane tapes paired a regenerated-cellulose film with a rubber-based adhesive: natural or synthetic rubber, tackifying resins, and oils or plasticizers to keep it supple. Later "invisible" and matte-finish tapes moved to cellulose acetate or polypropylene films and, for the most part, to acrylic adhesives. Acrylics yellow more slowly and age more gracefully than rubber, but they are not inert. They creep, they flow into the paper under their own weight over time, and some are harder to dissolve than the old rubber tapes ever were.
The three stages of tape ageing
Conservators commonly describe tape deterioration in three stages. They aren't crisp categories, and one strip can sit in two stages at once, but they are useful for judging what is possible.
Stage one: tacky and clear. The adhesive is still soft and sticky. The carrier is flexible and mostly transparent. Adhesive has begun to sink into the surface fibers of the paper, but the color change is slight. This is the easiest stage to treat and the one with the best outcome.
Stage two: yellow and oozing. The adhesive oxidizes. It yellows, turns oily or gummy, and migrates deeper into the sheet and sideways past the edges of the carrier, where it collects dust and grime. The paper under the tape darkens and often looks translucent, as if it had been oiled. The carrier may start to lift at the ends.
Stage three: hard, dark and brittle. The adhesive has cross-linked into a hard, orange-to-brown crust. The carrier frequently lets go by itself, which is why you find loose strips of old tape in the bottom of folders. What's left is a stain in the paper and a glassy residue on it. The residue resists solvents, and the stain is now part of the sheet.
Warmth speeds the whole sequence. Tape in an attic or a sunny office runs through the stages far faster than tape in a cool, stable vault.
Why it stains
As a rubber adhesive breaks down, its oils and degraded resins become more mobile and more colored. They wick into the cellulose fibers the way grease wicks into a paper bag, carrying color with them. By the time the adhesive hardens, the discoloration isn't sitting on the paper; it's in it, sometimes right through to the other side. Acrylic adhesives stain less dramatically, but the translucent, wet look under old acrylic tape is the same story: adhesive that has filled the spaces between fibers.
There is collateral damage, too. Adhesive creeping out from the edges picks up dirt and leaves a dark border. Pages in a volume stick to their neighbors and transfer adhesive, and sometimes ink, across the opening. And many inks found in twentieth-century records (ballpoint paste, felt-tip, rubber-stamp inks, some typewriter ribbons) will dissolve into the adhesive, so text under tape can blur, feather or wander.
Why staff shouldn't just peel it
With fresh tape, the adhesive's grip on the paper is often stronger than the paper's grip on its own surface. Peel it and the tape takes a skin of fibers with it, and with those fibers, whatever was written there. With stage-two tape, the carrier comes away but leaves a layer of goo that then grabs dust, fingers and the facing page. With stage-three tape, the carrier is usually gone already, and the hard residue invites scraping with a blade, which cuts the paper and does nothing for the stain.
The urge to peel is completely understandable. A lifted corner of tape is practically a dare. Resist it.
At the bench: a typical treatment, step by step
Here is how a treatment usually runs on a single torn leaf carrying a mix of stage-two and stage-three tape. Tools and materials vary from one conservator to the next; the order matters more than any particular product.
1. Examine and document
Before anything is touched, the item is photographed under ordinary light and under raking light, which shows the texture of the residue and any lifting. Ultraviolet examination helps as well: many adhesives fluoresce, showing just how far they have spread beyond the visible edge of the tape. I note the tape type as best I can identify it, the paper, every medium present, and any earlier repairs. For a public record, those before-treatment images become part of its history.
2. Test the media
Every ink, stamp, signature and pencil note in or near the taped area gets tested against each solvent I might use. That means a tiny swab, barely damp, touched to an inconspicuous spot under magnification, then blotted to see whether anything transferred. If an ink moves, that solvent is off the table for that area, and sometimes the whole plan changes. This is the step home attempts skip, and it is the one that decides whether the text survives.
3. Lift the carrier
Heat usually comes first. A small heated spatula, temperature-controlled and run at a low setting, softens the adhesive just enough that the carrier can be eased up with a thin micro-spatula, a few millimeters at a time, while the paper is held flat. Polypropylene film distorts when it warms, so the work is slow and the temperature stays modest. Where heat alone won't release the film, a little solvent fed in at the lifting edge with a fine brush softens the adhesive from the side.
4. Reduce the residue
With the carrier off, the adhesive layer is exposed. Soft, tacky residue can often be rolled off mechanically with a block of crepe rubber, which gathers the stickiness into itself without abrading the paper. Hardened residue needs solvents. Conservators choose from a fairly short list (acetone, ethanol, ethyl acetate, heptane and a few others, alone or blended) according to the adhesive and the results of the media tests. Solvent may go on with a swab, through a poultice or gel that holds it against the residue for a controlled time, or with the sheet on a suction table so the softened adhesive is drawn down and away rather than smeared sideways. All of it happens under fume extraction, with gloves and eye protection.
5. Reduce the stain, as far as it will go
The stain is the hard part. The usual approach is to apply solvent locally while absorbent blotters or a suction table pull the dissolved material through and out of the sheet. Stage-two stains often lighten a good deal. Stage-three stains frequently only soften in tone. More aggressive methods exist, but they carry their own risks to the paper, and on a record whose value lies in what it says, a faint ghost is a perfectly acceptable result. I tell owners up front: the tape will come off; the shadow may stay.
6. Mend the tear properly
The tape was there because something was torn, and the tear still needs mending. Conservators use thin Japanese tissue and wheat starch paste, a pairing that is strong, flexible and reversible with moisture decades from now. The sheet is then dried and flattened under light weight between blotters.
7. Write it down
A short treatment report records what tape was present, what was used to remove it, how well it worked, and after-treatment images. If anyone works on the item again, they'll know exactly what has already been done to it.
These steps are one corner of a much larger set of bench work; our guide to conservation treatments for records, maps and volumes covers the rest.
Bound volumes make everything harder
Tape in a bound register is a special nuisance. The adhesive bleeds onto the facing page, the volume can't be laid flat for suction or poultices, and the worst damage sits in the gutter. Sometimes the work can be done with the book supported open at a partial angle. Sometimes it makes sense to fold tape removal into a rebinding, when the text block is apart anyway. That's a judgment for a conservator looking at the actual book, not something to decide from a photograph.
The don'ts
- Don't peel it, however invitingly the corner lifts.
- Don't reach for household products. Nail polish remover, lighter fluid, citrus or oil-based adhesive removers and the like push softened adhesive deeper into the sheet, leave residues of their own, can dissolve inks, and some are fire hazards in a room full of paper.
- Don't apply heat with a hair dryer, a clothes iron or a desk lamp.
- Don't scrape with a razor blade, a knife or a fingernail.
- Don't trim the taped area off, and don't erase or sand at the stain.
- Don't add more tape, including office tapes sold as "archival" or "acid-free." A pressure-sensitive adhesive is still a pressure-sensitive adhesive, whatever the label says about pH.
- Don't seal tacky tape inside a polyester sleeve or laminate it. The adhesive will bond to the film.
- Don't wet it to loosen anything.
What to do in the meantime
Tape removal is slow, item-by-item work, and few offices can send every taped page to a conservator at once. That's fine. A few steps now keep the problem from growing and make the eventual treatment cheaper.
Make a list. A simple spreadsheet will do: records series, volume or folder, page, how much tape, and a rough stage (tacky and clear, yellow and gummy, or hard and brown). That list becomes the backbone of any conservation request or grant application.
Make a copy. Scan or photograph taped pages now, while the text near the tape is still legible. The approach in our guide to imaging and microfilm for preservation copies applies here as well, and an original that is consulted less ages more slowly.
Isolate the adhesive. Lay a sheet of silicone release paper over tacky or oozing tape so it can't bond to the facing page, then house the item in a folder of good-quality buffered paper. In a bound volume, a release-paper interleaf at the taped opening does the same job.
Keep it cool and steady. Heat drives the ageing. The vault is a better home than the attic, the window ledge or the shelf above the radiator. Winter adds its own wrinkle: heated offices run warm and dry, so keep taped material away from radiators and heating vents.
Stop the supply. Take tape dispensers out of the vault and the research room, tell staff and volunteers why, and give them something better to reach for: folders, sleeves for intact pages, and a set-aside box for torn items. Our page on storage equipment and supplies for permanent records has a list to start from.
Think about priorities the other way round. It seems natural to send the worst, brownest tape first. But stage-one tape on a permanent record is the cheapest, most successful treatment there is, and in a few years it will be stage-two tape. If the budget only stretches so far, there is a good argument for catching the young tape on the important records before it turns.
A strip of tape takes two seconds to put on. On a good day at the bench, taking it off properly takes the better part of an hour.
Keep reading
Environmental Monitoring for a Records Vault: Loggers, Targets and Reading the Graph
A practical checklist for monitoring temperature and humidity in a records vault, with logger placement, dehumidifier advice and how to read the logger graph.

Budgeting a Records Preservation Program Over Ten Years
Phasing a records preservation program over a decade: condition survey, priority scoring, annual tranches, recording-fee funds, grants and board reports.
Iron Gall Ink: Why Old Handwriting Eats Through Paper
How iron gall ink damages paper, the four stages of ink corrosion, why humidity matters, safe handling and storage, and what a conservator can do about it.