How to Digitize Old Photos: Resolution, Files and Backups
 Priya Raman9 min read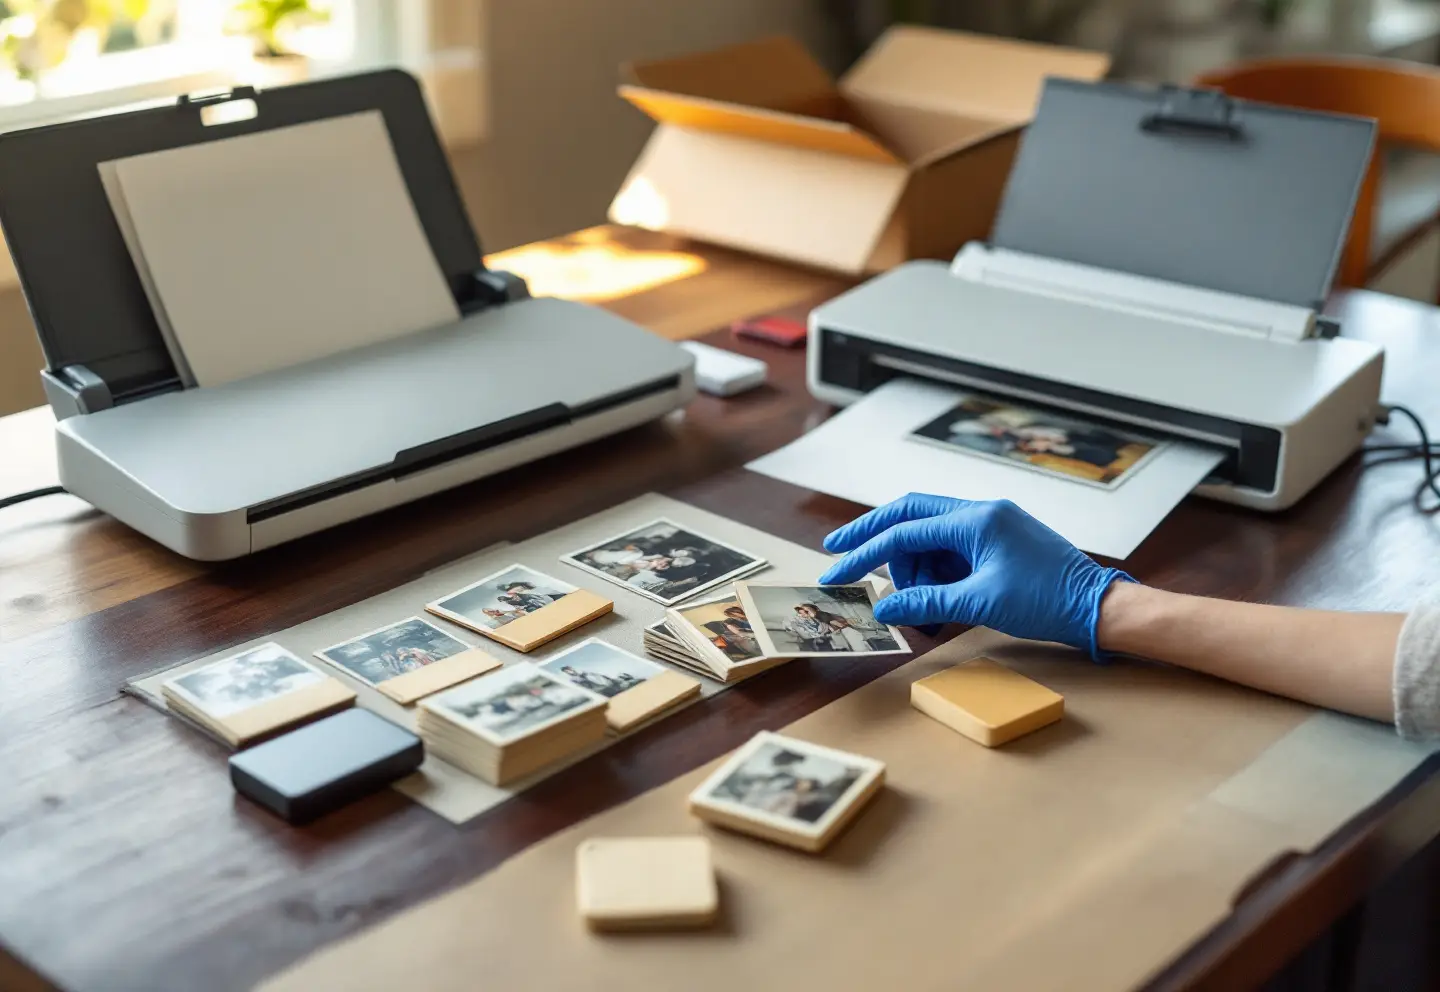
To digitize old photos, sort them before you touch a scanner, scan prints at 600 dpi (1200 for small ones) and save those masters as TIFF files, make JPEG copies for sharing, name and caption the files as you go, and keep three copies on at least two kinds of storage with one copy outside the house. The best way to digitize old photos is the one you actually finish, so the routine below is built for steady sessions of an hour or two rather than one heroic weekend.
Step 1: Sort before you scan
Sorting feels like a delay. It is the step that saves the most time later, because it decides what goes through which machine and keeps the story attached to each picture.
- Work at a clean, dry table with no food or drinks nearby.
- Wash and dry your hands, then put on nitrile gloves. They grip better than cotton and do not snag on curling or cracked emulsion.
- Make separate groups for sturdy loose prints, fragile or mounted prints, albums, negatives and slides, and the letters and documents that always turn up in the same box.
- Keep the original order inside each envelope and album. The order is information: it tells you which roll of film, which holiday, which year.
- Number boxes and envelopes, and write those numbers on the containers or on a sticky note, never on the photographs.
- Set aside exact duplicates and scan only the best copy. Scanning time is the expensive part.
- Ask the oldest relatives now who is in the pictures, and write their answers in a notebook keyed to box and envelope numbers.
Self-adhesive "magnetic" albums deserve a warning. If a print does not lift with almost no force, leave it where it is and scan the whole page on a flatbed. Prying prints off those pages tears them, and the adhesive is often stronger than the paper.
Step 2: Pick a capture method
| Method | Good for | Limits |
|---|---|---|
| Phone camera with a scanning app | Quick share copies; photos you cannot take home | Glare, slight distortion, less detail; not a master copy |
| Flatbed scanner | Any print, album pages, fragile and mounted items, documents | A few prints per pass, so large collections take time |
| Photo scanner with a sheet feeder | Large runs of sturdy loose prints, both sides at once | Not for fragile, mounted, curled or taped prints |
| Flatbed with a film adapter, or a film scanner | Negatives and slides | Slow, and dust control takes patience |
| Scanning service | Large volumes, film, or when time is shorter than budget | Originals leave the house; you must specify settings and check the files |
For most households a basic flatbed is the one tool that can scan everything in the box. If you have thousands of sturdy snapshots, add a photo scanner with a sheet feeder for the bulk and keep the flatbed for everything else. Our guide to photo scanners for old photos compares the machines feature by feature.
If you use a service, ask for TIFF or maximum-quality JPEG at a stated resolution, ask whether they rescan a bad frame, and ask how originals come back. They should return in the order you sent them.
Step 3: Choose settings once and write them down
Consistency matters more than squeezing out the last bit of quality. Decide your settings, write them on a card next to the scanner and use them for the whole collection.
| Item | Resolution | Color | Master | Access copy |
|---|---|---|---|---|
| Standard prints, 3.5x5 to 8x10 | 600 dpi | 24-bit color; 48-bit if faded | TIFF | JPEG, high quality |
| Small prints (wallet size, contact prints) | 1200 dpi | As above | TIFF | JPEG |
| Black-and-white prints | 600 dpi | 16-bit grayscale, or color if toned or tinted | TIFF | JPEG |
| Backs with writing or stamps | 300 dpi | 8-bit grayscale | TIFF or JPEG | Same file |
| 35 mm negatives and slides | 3200-4000 dpi | 48-bit color | TIFF | JPEG |
| Letters and documents | 400 dpi | 24-bit color | TIFF |
Switch off the scanner software's automatic color restoration, sharpening and dust removal for the masters. Restoration belongs on a copy you can redo, never in the one file you keep.
Storage is easy to underestimate. A 6x4 print at 600 dpi in 24-bit color is 3600 by 2400 pixels, about 25.9 MB as an uncompressed TIFF. A thousand of those, plus JPEG access copies at roughly a tenth of the size, come to about 28.5 GB per set. Three copies make 85.5 GB, so a 500 GB drive for each copy leaves room for years of additions. The scan resolution calculator runs the same sums for your own sizes and counts.
The small kit
This is all one household needs for a typical box of family prints: a basic flatbed photo and document scanner, a box of nitrile gloves, a portable SSD for the copy that leaves the house and a desktop hard drive for the backup that stays at home. The feeder from Step 2 is optional and only earns its place on big piles of sturdy prints.
Archivist’s kit
Canon CanoScan LiDE 300
A slim, USB-powered flatbed for prints and documents one at a time.
- Powered by its USB cable
- Auto scan mode detects what is on the glass
- Fits on a crowded desk
Powder-free nitrile gloves
Thin, close-fitting gloves for handling prints and photographs.
- Powder free
- Latex free
- Box of 100
Samsung T7 portable SSD, 2 TB
A small, fast drive for working copies and transfers.
- 2 TB
- USB 3.2 Gen 2
- No moving parts
WD Elements desktop drive, 12 TB
A large mains-powered drive for a full set of masters.
- 12 TB
- USB 3.0
- Plug and play
Picked from maker specifications and published reviews. We have not bench-tested these units.
Step 4: Scan in small batches
Work one envelope or one album page at a time, and finish it before opening the next.
- Blow loose dust off the glass and wipe it with a dry microfiber cloth. Spray any cleaner onto the cloth, never onto the glass.
- Place prints square, with a small gap between them if the software crops several prints from one pass.
- Preview, and set each crop slightly outside the print's edge so the border survives. Borders often carry a processing date.
- Scan, then open one file at 100 percent zoom and check for dust, streaks, a skewed crop or a wrong setting.
- Scan the back of every print that has writing, a stamp or a studio name on it.
- Return the prints to their envelope in the same order before you start the next one.
Step 5: Name the files and capture what you know
A file name should sort correctly and point back to the original. A pattern built from box, envelope and sequence numbers does both. As a hypothetical example, box02_env05_0012.tif is the twelfth print in envelope 5 of box 2, and box02_env05_0012_back.tif is its reverse. Leave out spaces, and use no punctuation other than the _ and - characters.
Dates and names belong in the file's metadata rather than its name, because they are often uncertain. Most photo management programs can write a caption into the description field embedded in the file, and that caption travels with the image when you copy or share it. Write uncertain dates as "about 1955" or "1950s" rather than inventing a precise one.
Keep a plain spreadsheet as well, one row per file, with columns for file name, who, where, when, source box and notes. Save it as CSV next to the images. A spreadsheet in an open format is far easier to read in thirty years than a catalog locked inside one program.
Step 6: Back up with three copies in two places
The usual rule is three copies, on at least two kinds of storage, with one away from the house. One reasonable layout for a family project:
| Copy | Where it lives | Habit |
|---|---|---|
| 1 | The computer you scan on, or its working drive | Updated after every session |
| 2 | A desktop hard drive at home | Copied to at the end of each session, then unplugged |
| 3 | Off site: a portable drive kept with a relative, or an online service | Refreshed monthly or after each big batch |
For the off-site copy, a family's own cloud drive works well, and so does a dedicated online photo storage service. Either way, treat the online copy as one of the three, never as the only one, because services change their terms and accounts get forgotten. A portable drive at a relative's house has no subscription at all.
Copying files is not the same as keeping them. Once a year, open a sample of files from each copy to make sure they still read. Plan to move everything to new drives every four or five years, before the old ones start to fail. Our piece on file formats for long-term preservation explains why TIFF masters and plain CSV records age better than proprietary formats, and how checksums can confirm that a copy still matches the original.
Step 7: Keep the originals
Scanning does not replace the prints. A print carries information that a scan misses, such as the paper, the surface, a studio stamp pressed into the mount, and a well-stored print will outlast any drive you can buy. Put the originals back in their numbered envelopes, in order, in a box kept somewhere cool, dry and dark. That means a closet in the living space, not the attic, the garage or the basement. If the photographs may one day go to a local historical society, keep your notebook and spreadsheet with them. Our piece on building a local history collection from attic donations shows what an archive needs to know about a gift.
Frequently asked questions
What resolution should I use to scan old photos?
600 dpi for standard prints, 1200 dpi for small prints and 3200 to 4000 dpi for 35 mm negatives and slides. Higher settings on ordinary prints mostly make bigger files.
Is it better to scan old photos or photograph them with a phone?
Scan them if you want copies that last and can be enlarged. A phone app is fine for a quick share copy, but glare, distortion and lower detail make it a poor master.
How long does it take to digitize 1,000 photos?
On a flatbed, with careful handling, cropping and naming, expect somewhere around one to two prints a minute, so a thousand prints is roughly two weekends of steady work. A feeder scanner is several times faster for sturdy loose prints.
Should I scan the backs of photos?
Yes, whenever there is writing, a date stamp or a studio name. Grayscale at 300 dpi is enough, and the back file should share the front's name with "_back" added.
Can I throw away the prints after scanning?
Keep them. Store the originals cool, dry and dark in their original order. A good print outlasts any hard drive, and it is the source you return to if a file is ever lost.
Keep reading
Photo Scanners for Old Photos: Flatbed, Feeder or Film Adapter
How to choose a photo scanner for old photos: flatbed or feeder, real optical resolution, film adapters and bit depth, plus two kits for prints and for film.

OCR and Handwritten Text Recognition for Archives: What to Expect
What handwritten text recognition can do for old records: OCR vs HTR, training on a clerk's hand, keyword spotting, ground truth, privacy and project planning.
File Formats for Long-Term Preservation: TIFF, PDF/A, JPEG 2000 and the Rest
Choosing preservation file formats: TIFF masters, PDF/A parts, JPEG 2000, PNG, CSV and XML, audio and video, plus checksums, fixity and migration planning.