Photo Scanners for Old Photos: Flatbed, Feeder or Film Adapter
 Priya Raman11 min read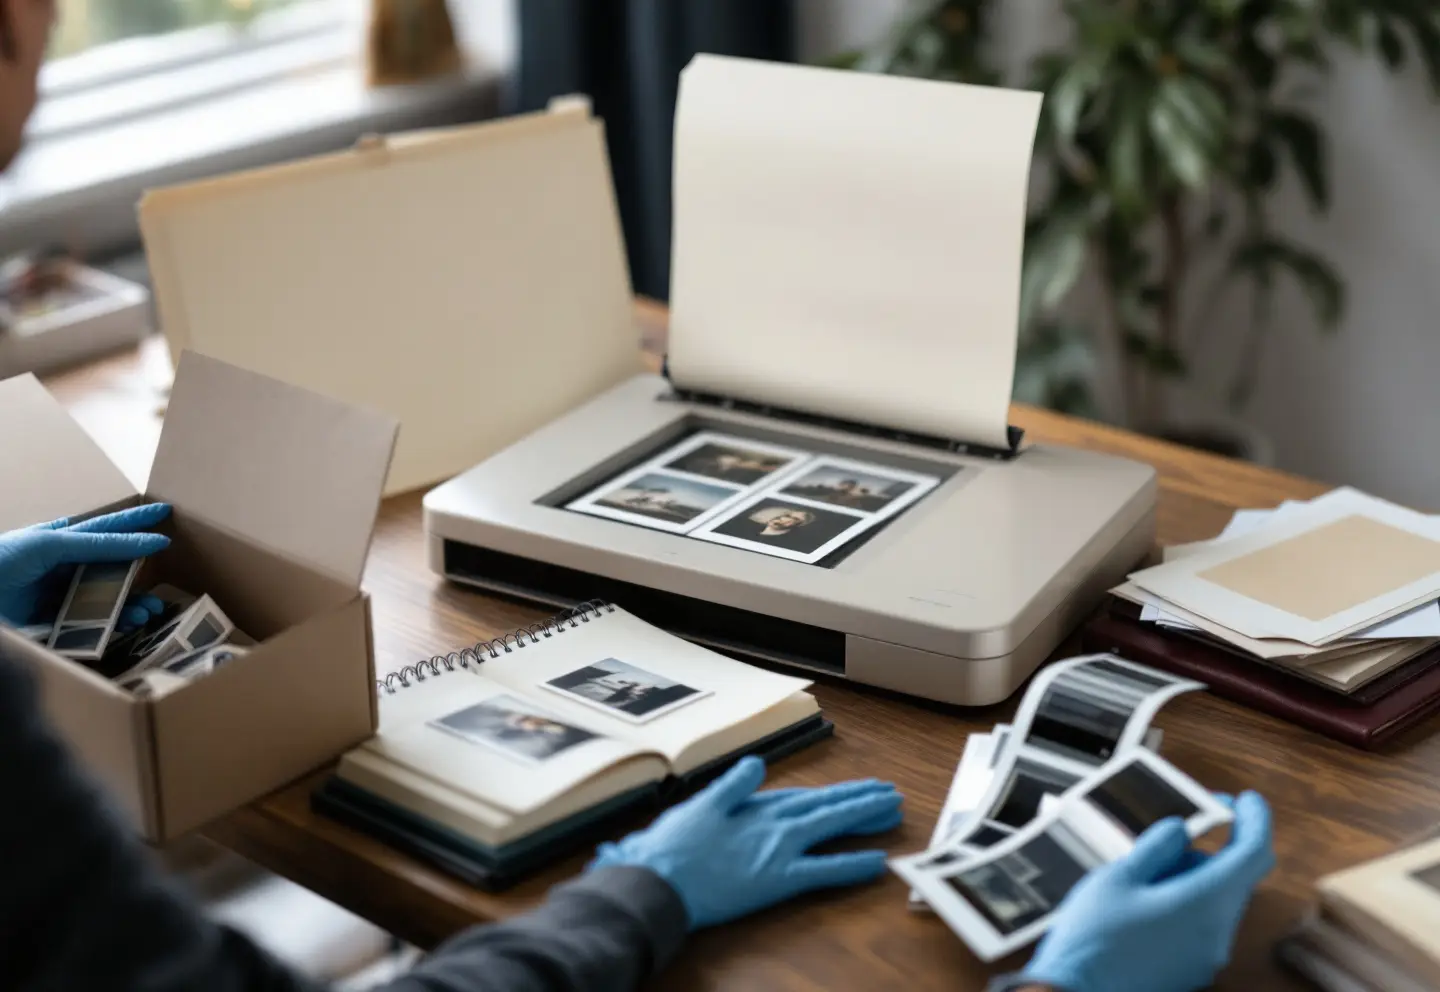
The right photo scanner for old photos depends on what is actually in the box. If it is mostly sturdy 4x6 snapshots from the 1970s onward, a photo scanner with a sheet feeder will clear a shoebox in an evening or two. If the collection includes cracked or curled prints, studio portraits mounted on card, album pages or odd sizes, you want a flatbed scanner, because nothing passes through rollers. If negatives or slides are in the mix, look at a flatbed with a built-in film adapter: one machine that handles prints and film, at the resolution film needs. Get that first choice right and the rest of the spec sheet matters far less.
Three piles, three machines
Families, small historical societies and town offices with a carton of donated photographs tend to arrive with one of three piles. Each one points to a different kind of scanner.
| What you have | What the job needs | Scanner type |
|---|---|---|
| Hundreds or thousands of loose snapshots, mostly 3.5x5 and 4x6, flat and in good shape | Speed, both sides of each print captured, little handling | Photo scanner with a sheet feeder |
| A mixed lot: studio portraits, cracked or curled prints, album pages, postcards, letters | Gentle handling, any size up to letter, no rollers | Entry flatbed photo and document scanner |
| Prints plus 35 mm negatives, mounted slides or medium-format film | Light through the film, film holders, high optical resolution | Flatbed scanner with a built-in film and slide adapter |
The feeder and the flatbed are partners more than rivals. A feeder is fast because it pulls each print past a fixed sensor, and that is exactly why it is the wrong tool for anything brittle. A flatbed is slow because you place each print on the glass by hand, and that is why it is safe. Plenty of households end up with both: the feeder for the bulk of the shoebox, the flatbed for the prints that matter most and the ones that should never go near a roller.
Film changes the arithmetic. A print holds a limited amount of detail, so 600 dpi records nearly all of it. A 35 mm frame measures roughly 1.4 by 0.9 inches, and you need somewhere between 2400 and 4000 dpi to get a file that still prints well at 8x10. That takes a light shining through the film from above and optics that can resolve fine detail, which rules out feeders and most basic flatbeds.
What matters in the specs
Photo scanner spec sheets are long, and some of the numbers on them are marketing. These are the lines that change the result.
| Feature | Why it matters | What to look for |
|---|---|---|
| Optical resolution | The sensor's real sampling rate. "Interpolated" or "enhanced" figures are software enlargement and add no detail | Prints: 600 dpi optical is plenty, 1200 helps for small prints. Film: 3200 dpi optical or more |
| Sensor type (CIS or CCD) | A contact image sensor is slim and efficient but has very shallow focus, so anything not pressed flat goes soft | CCD for curled prints, album pages and film; CIS is fine for flat loose prints |
| Bit depth | More levels per color channel leave room to correct faded or color-shifted images without banding | 48-bit color output (16 bits per channel) for masters; 24-bit is enough for access copies |
| Film adapter | Film has to be lit from behind. Without a light in the lid a flatbed cannot scan negatives or slides properly | A built-in lid light plus holders for 35 mm strips, mounted slides and, if you have it, 120 film |
| Infrared dust and scratch removal | An infrared pass maps dust and scratches on film so the software can fill them in | Worth having for color negatives and slides; it does not work on traditional black-and-white film |
| Density range (Dmax) | Slides have very dense shadows, and a short range turns them to mud | A useful hint, not a guarantee: makers measure it in different ways |
| Feeder path and limits | Rollers and a curved paper path put stress on prints, and the feeder decides what can go through | A short, gently curved path, stated limits for print size and thickness, duplex scanning for the backs |
| Lid and glass | A lid that rises or lifts off lets you scan album pages and thick items | Letter or A4 glass, a hinge that lifts for thick items |
| Software and drivers | You need TIFF output, 48-bit capture and a way to switch off automatic "enhancements" | TIFF and JPEG output, manual exposure and color controls, drivers for your current operating system |
A few of those lines need more than a table cell.
Optical resolution, honestly
The headline figure on a flatbed is usually the sensor's sampling rate. What the scanner can actually resolve, once the lens and focus are involved, is lower, sometimes a lot lower. For prints this hardly matters, because an ordinary snapshot does not hold much detail beyond what 600 dpi captures. For film it matters a great deal, and it is the main difference between a film-capable flatbed and an entry model. From the specifications alone you cannot tell exactly how sharp a scanner will be on film. What you can do is rule out any model that lists only interpolated figures or does not state optical resolution at all.
To see what a setting means in pixels, megabytes and print size, our scan resolution calculator does the sums. A 6x4 print at 600 dpi becomes a 3600 by 2400 pixel image, 8.64 megapixels, about 25.9 MB as an uncompressed 24-bit TIFF. Multiply by a few thousand prints and the storage plan becomes part of the scanner decision.
Sensor type and depth of field
Most slim entry flatbeds use a contact image sensor (CIS) right under the glass, and its focus falls off within a millimeter or so. A curling print or an album page that will not lie flat comes out soft where it lifts. A CCD sensor with a lens has more depth of field, which is why film-capable flatbeds use one: film in a holder sits slightly above the glass.
Feeders and what not to feed them
A photo scanner with a feeder is the quickest way through a box of loose snapshots. Most current models scan both sides in a single pass, which captures the handwritten names, dates and processing stamps on the back without a second step. The trade-off is handling. Keep these out of any feeder:
- Prints with cracked, flaking or lifting emulsion
- Prints that curl tightly or have been stored rolled
- Anything mounted on card: cabinet cards, cartes de visite, school portraits in folders
- Tintypes and cased images such as daguerreotypes and ambrotypes, which belong on a flatbed or under a camera, still in their cases
- Instant prints with a thick body, unless the maker lists them as supported
- Prints with tape, glue, stickers or album residue on the back
- Anything torn, and any print you could not bear to lose
If you are unsure about a print, it goes on the flatbed. That rule costs a few minutes and saves the occasional disaster.
Film adapters and film holders
A flatbed with a built-in film adapter has a light source in the lid and holders that keep film flat and at the right height above the glass. Depending on the model, a holder takes a few strips of 35 mm negatives or several mounted slides per pass, and some also take 120 roll film. If anyone in the family shot medium format, check the holder list first.
Dedicated 35 mm film scanners can pull more detail out of a frame, but they do not scan prints at all. For a mixed family collection, one flatbed with a film adapter is usually the more sensible choice, and you can send the handful of irreplaceable negatives to a lab later if a frame deserves it.
Kit one: for loose prints
This is the setup for a collection that is mostly prints. The feeder does the bulk of the snapshots, both sides at once. The basic flatbed takes the fragile, mounted and oddly sized prints, plus the letters and documents that always turn up in the same box. Nitrile gloves keep skin oils off emulsion and do not snag on a cracked surface the way cotton can, and a microfiber cloth keeps the glass clear. If you can only have one machine, choose the flatbed: it is slower, but it can scan everything in the box, and the feeder cannot.
Archivist’s kit
Epson FastFoto FF-680W
A high-speed photo scanner that feeds stacks of loose prints.
- Up to about one photo per second at 300 dpi (maker figure)
- Scans the front and the back in one pass
- Wi-Fi or USB
Canon CanoScan LiDE 300
A slim, USB-powered flatbed for prints and documents one at a time.
- Powered by its USB cable
- Auto scan mode detects what is on the glass
- Fits on a crowded desk
Powder-free nitrile gloves
Thin, close-fitting gloves for handling prints and photographs.
- Powder free
- Latex free
- Box of 100
MagicFiber microfiber cloths
Lint-free cloths for scanner glass and film holders.
- Pack of six
- Each cloth bagged separately
- Washable
Picked from maker specifications and published reviews. We have not bench-tested these units.
Kit two: for prints plus film
When the collection includes negatives or slides, put the film-capable flatbed at the center. It handles the prints as well, so there is no need for a second scanner unless the print pile runs to thousands. A rubber air blower moves dust off film without touching it (canned air can spit cold propellant onto the emulsion), and lint-free cotton gloves are the traditional choice for handling film strips by their edges. Some people prefer nitrile for gripping slide mounts, and either is fine as long as the gloves are clean.
Archivist’s kit
Epson Perfection V550 photo scanner
A flatbed for prints that also scans 35 mm slides and negatives through its lid.
- 6400 dpi optical resolution
- Transparency unit in the lid for 35 mm film
- Infrared dust and scratch removal for color film
Silicone air blower
A hand bulb that puffs dust off negatives and glass without touching them.
- Soft silicone tip
- Long nozzle
- Includes a microfiber cloth
White cotton gloves, 12 pairs
Washable gloves for handling film and print edges.
- 12 pairs
- Cotton blend
- Washable and reusable
Picked from maker specifications and published reviews. We have not bench-tested these units.
Setup and care, as a checklist
Most poor scans come from dust, automatic settings and rushed handling rather than from the scanner itself. Before the first session:
- Put the scanner on a stable, level table away from direct sun, heating vents and open windows, all of which bring dust and heat.
- Install the maker's driver for your operating system and check that it can save TIFF files at 48-bit before you scan anything you care about.
- Switch off automatic color restoration, sharpening, dust removal and descreening for your master files. Those tools are useful, but on a copy you can redo, not baked into the file you keep. Descreening is only for pictures printed in books, magazines and newspapers.
- Write down your settings (resolution, bit depth, file format, naming pattern) and keep using them, so the whole collection is consistent.
Each session:
- Blow loose dust off the glass, then wipe with a dry microfiber cloth. If you need a cleaner, spray it on the cloth and never on the glass, where it can run under the edge.
- Handle prints by the edges with clean gloves, and blow dust off film on both sides before it goes into the holder. Follow the holder's markings for which side faces the glass.
- Scan prints at 600 dpi, prints smaller than about 3.5x5 at 1200 dpi and 35 mm film at 3200 dpi or more. Use 48-bit color for faded prints and all film, 24-bit for prints in good condition.
- Scan the back of any print that has writing or a stamp on it. A 300 dpi grayscale scan is enough to read handwriting. Give it the same file name as the front with "_back" added.
- Check one file per batch at 100 percent zoom for dust, streaks and a crop that cut off the border. Borders often carry the processing date.
For a feeder, add one more habit: clean the rollers and the sensor glass in the paper path on the schedule the maker gives. Thin vertical lines that appear in the same place on every scan almost always mean dust or a speck of residue on that glass. Rollers wear out over thousands of passes, so before buying, check that replacement roller kits are actually sold for the model.
The files themselves need as much care as the prints. Our piece on file formats for long-term preservation explains why the master should be a TIFF and the copies you share can be JPEGs, and more of our document digitization articles cover naming, metadata and storage.
Frequently asked questions
What is the best photo scanner for old photos?
For a mixed family collection, a flatbed scanner with a built-in film adapter covers prints, album pages, negatives and slides. If you only have sturdy loose prints and a great many of them, a photo scanner with a feeder is much faster. If you can buy only one machine and anything in the box is fragile, choose the flatbed.
What dpi should I scan old photos at?
Use 600 dpi for standard prints, 1200 dpi for small prints you may want to enlarge and 3200 to 4000 dpi for 35 mm film. Going higher on ordinary prints mostly produces bigger files, not more detail.
Can a flatbed scanner scan negatives?
Only if it has a transparency unit, meaning a light in the lid, and film holders. A basic flatbed lights the item from below and reads reflected light, which does not work for negatives or slides.
Is a photo scanner with a feeder safe for old prints?
For flat, sturdy prints in good condition, generally yes, as long as the rollers and glass are kept clean. For cracked, curled, mounted, taped or irreplaceable prints, no. Those go on a flatbed.
Should I scan photos as JPEG or TIFF?
Save the master as TIFF and make JPEG copies for sharing and slideshows. A JPEG loses a little quality every time it is edited and saved again, so it should never be the only copy.
Do I need 48-bit color?
For faded or color-shifted prints and for all film, yes, because you will almost certainly adjust those images and the extra levels prevent banding. For prints in good condition, 24-bit color is enough.
Keep reading

OCR and Handwritten Text Recognition for Archives: What to Expect
What handwritten text recognition can do for old records: OCR vs HTR, training on a clerk's hand, keyword spotting, ground truth, privacy and project planning.
File Formats for Long-Term Preservation: TIFF, PDF/A, JPEG 2000 and the Rest
Choosing preservation file formats: TIFF masters, PDF/A parts, JPEG 2000, PNG, CSV and XML, audio and video, plus checksums, fixity and migration planning.

Email Is a Record Too: Capturing and Keeping Official Email
A model policy memo for official email: when a message is a record, retention by role, personal accounts and texts, records requests, legal holds and export.